Story contributed by Fiorello Galluzzo
I’m a regular humble guy and generally good with my hands. By day I’m a control systems engineer (electrical) and in my spare time like to tinker rather than just watch TV. I have a reasonably equipped home workshop which allows me to do pretty much everything I need to do.
Whilst it makes sense for some builders to outsource tasks like sandblasting, painting, powder coating, plating, I prefer to do just about everything myself. The only exceptions are things like engine machining and maybe upholstery. I don’t like to rely on others. I’m fussy, enjoy the challenge and that way I can say it’s my build (literally).
I’ve had a few modern sportbikes in the past. But during the last 10 years, I’ve been without one mainly due to family commitments. Back then life was all about spending the whole day riding but in recent years, things have slowed down. Now it’s more about creativity as my artistic side has become more apparent.
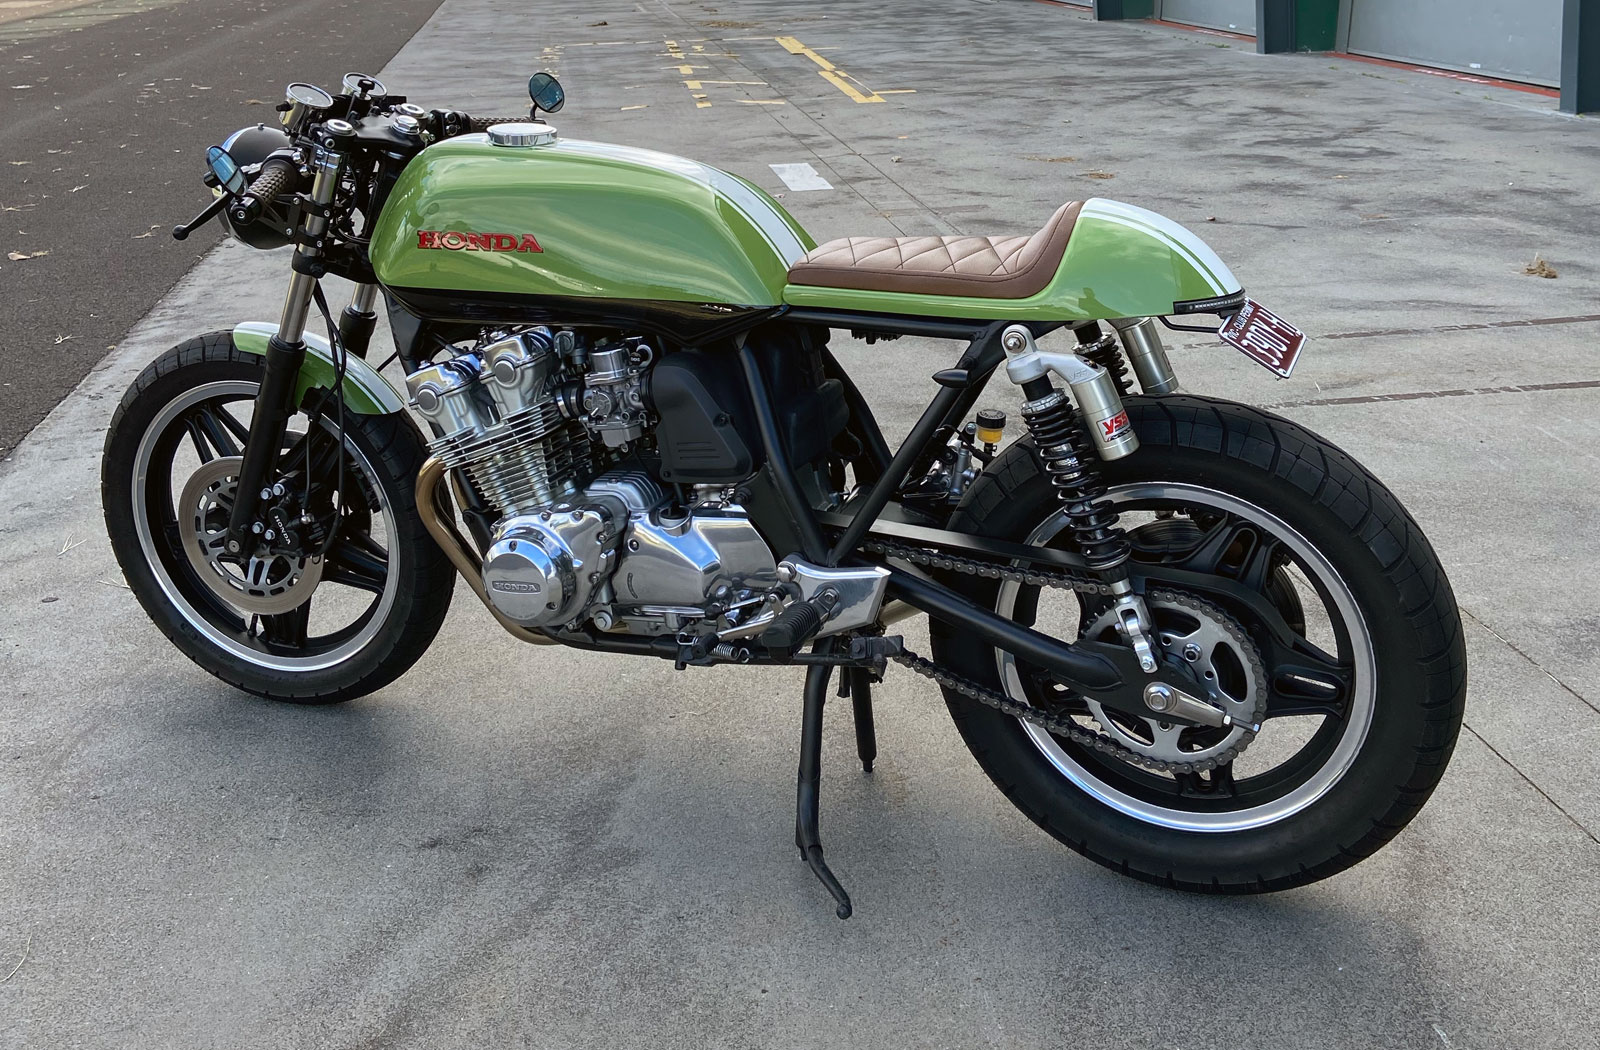
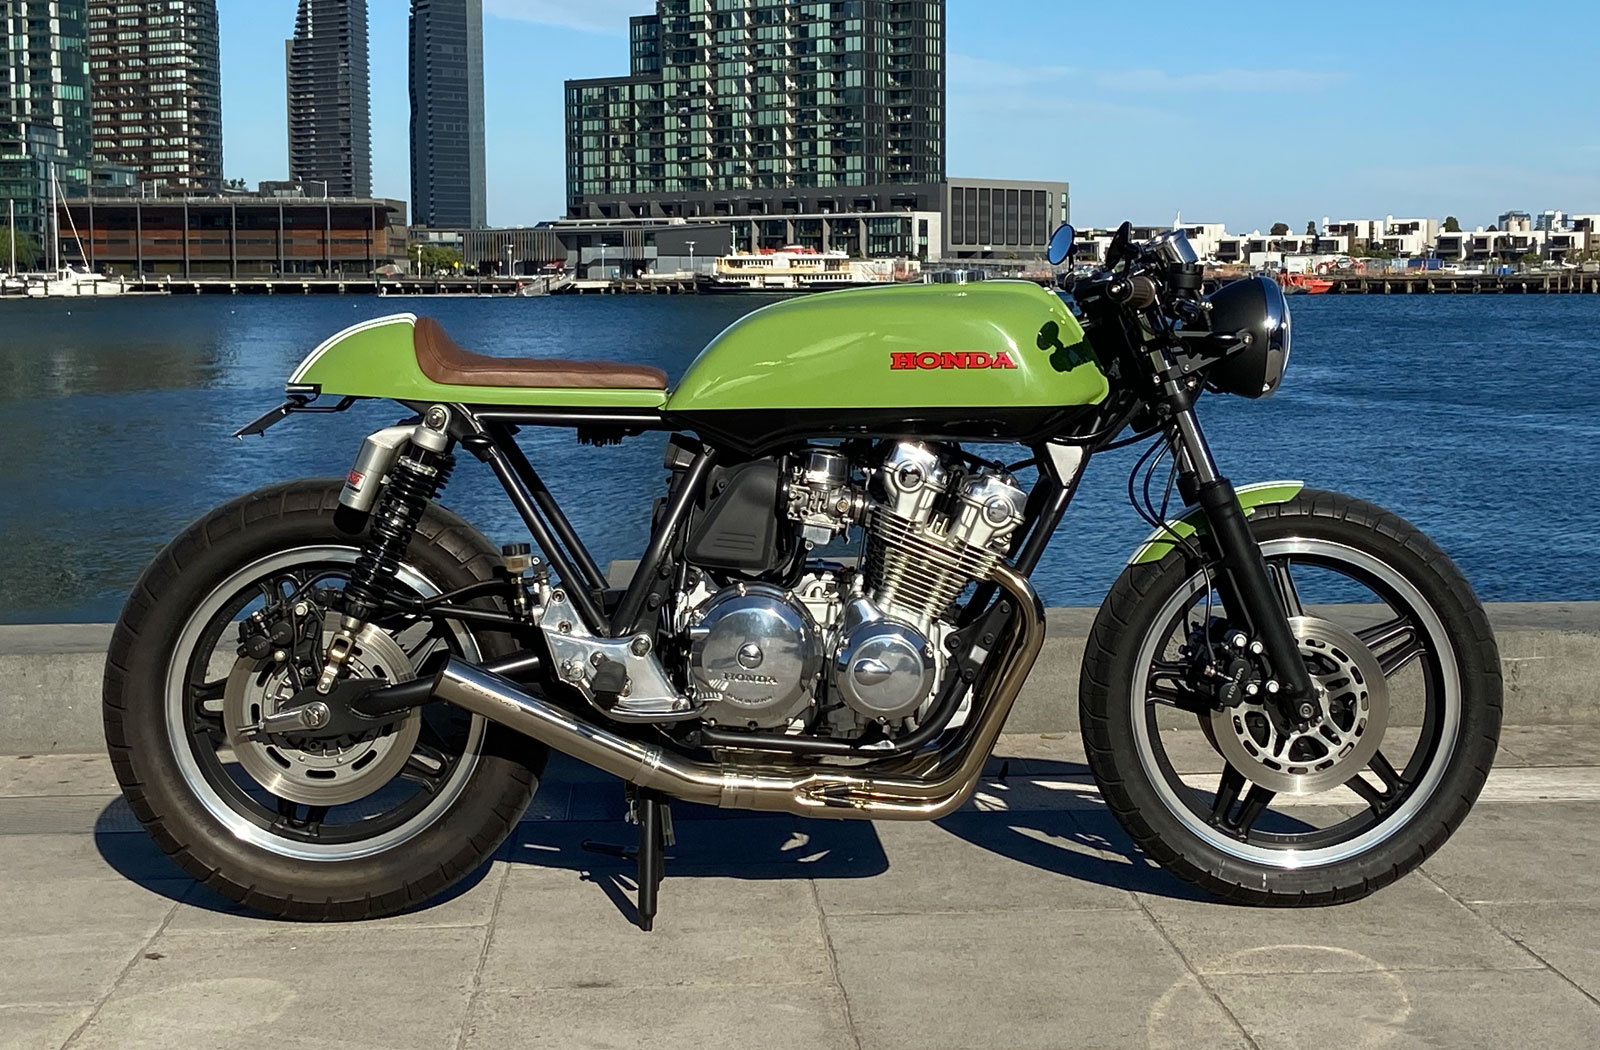
A cafe racer build was always on my wish list because of the look, the coolness, the impracticality. I was never really interested in buying one though. Since I love the 80s (the technology, the music, everything), I wanted to create ‘my own bike’ of that era and eventually ended up buying a cheap, non-running ’82 Honda CB750F with a box of bits thinking “how hard could it be?” After having no real plan of where I wanted to go with the build, other than lots of research, thinking and dreaming, things started to evolve and take shape.
The build process was initially overwhelming. First came dismantling, bagging and tagging, then removing the engine without any special equipment. Modification and fabrication of the rear subframe were next, putting my newly acquired metal and welding skills to the test. Sandblasting the big bits – frame, engine, wheels – was a bit of a challenge, but not impossible thanks to a makeshift walk-in enclosure that I made out of scaffolding and plastic sheets. I also performed a full strip-down, repaint and rebuild of the brakes, wheels and suspension.
The previous owner claimed the engine was running however compression testing wasn’t too good so I knew it could at least do with a top-end rebuild. I thought while I’m here I might as well go all the way. What did I know about rebuilding engines? Nada, but I was about to learn.
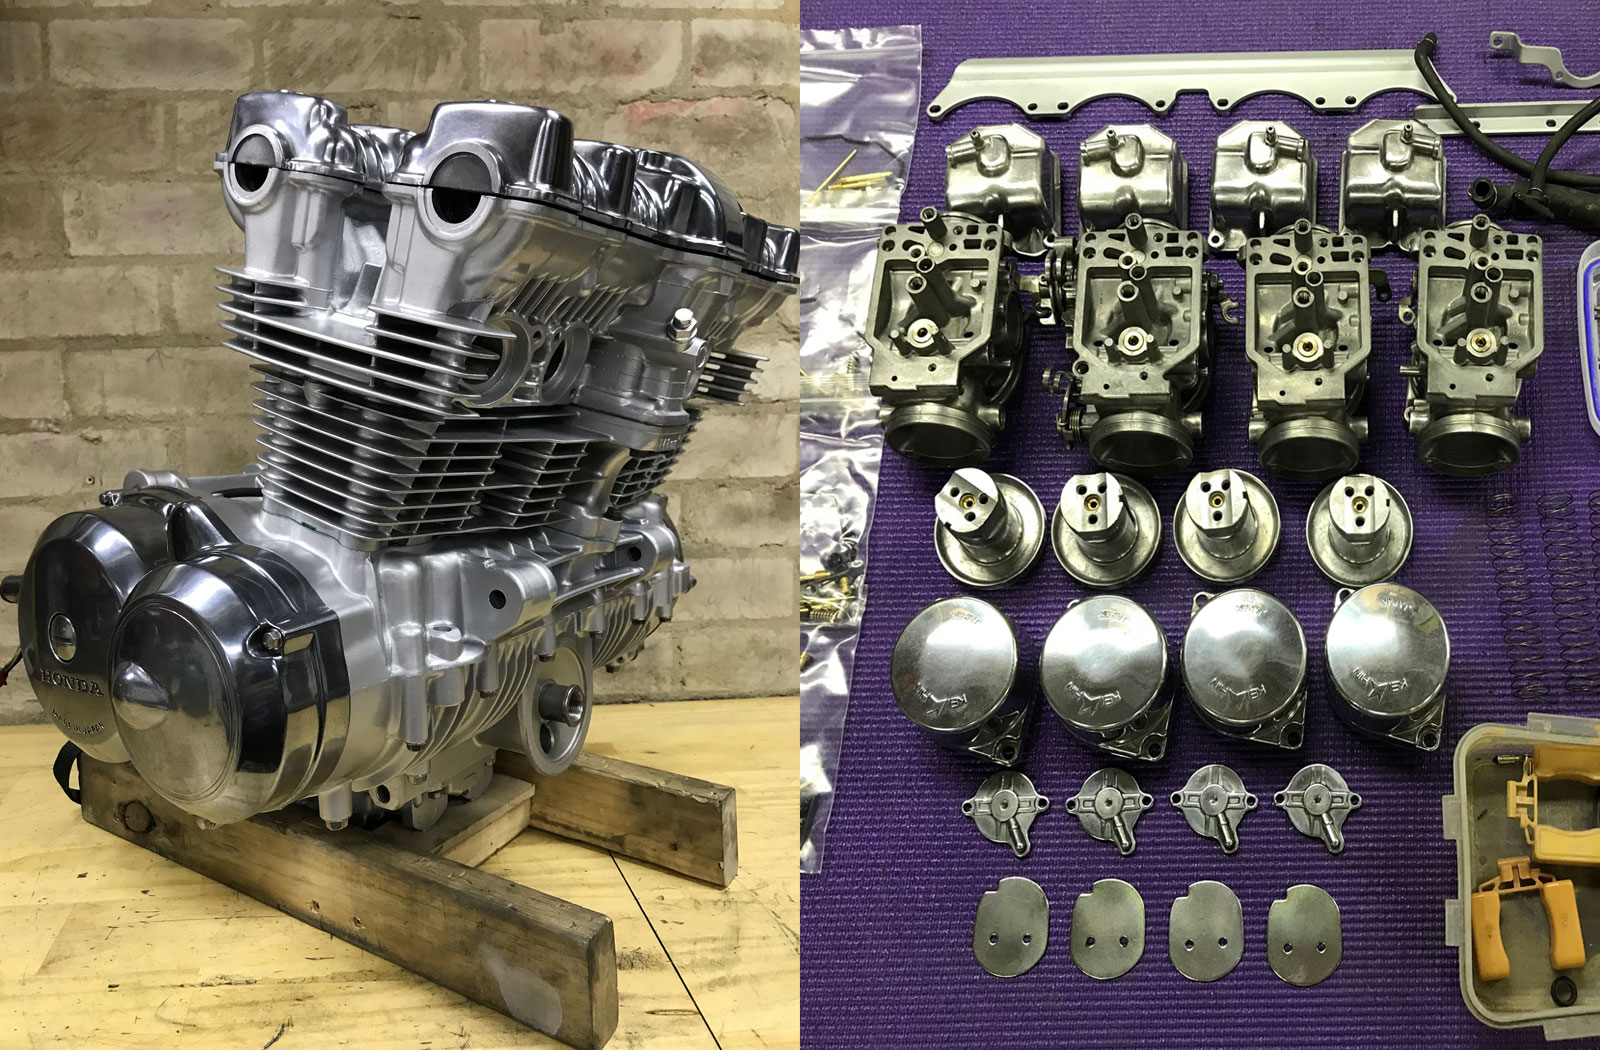
So I tore down the engine, got the cylinder bores measured for roundness then honed and the head resurfaced by a local engine shop. I then did some mild head porting and polishing with a Dremel, replaced the rings, all the gaskets and seals. The bottom end bearings weren’t in too bad shape but they were replaced anyway. Choosing the correct bearings was a very time-consuming process as to do it properly required measuring journals to calculate the most appropriate bearing size.
Setting the valve shims clearances was quite a pain as it was very fiddly. A full strip down, clean and rebuild of the carburettors was next and man what a job that was! I decided to stick with the stock airbox as the standard carbs are already quite sensitive and difficult to get running right. Some of the aluminium engine parts were sanded back and polished. Others deburred and repainted.
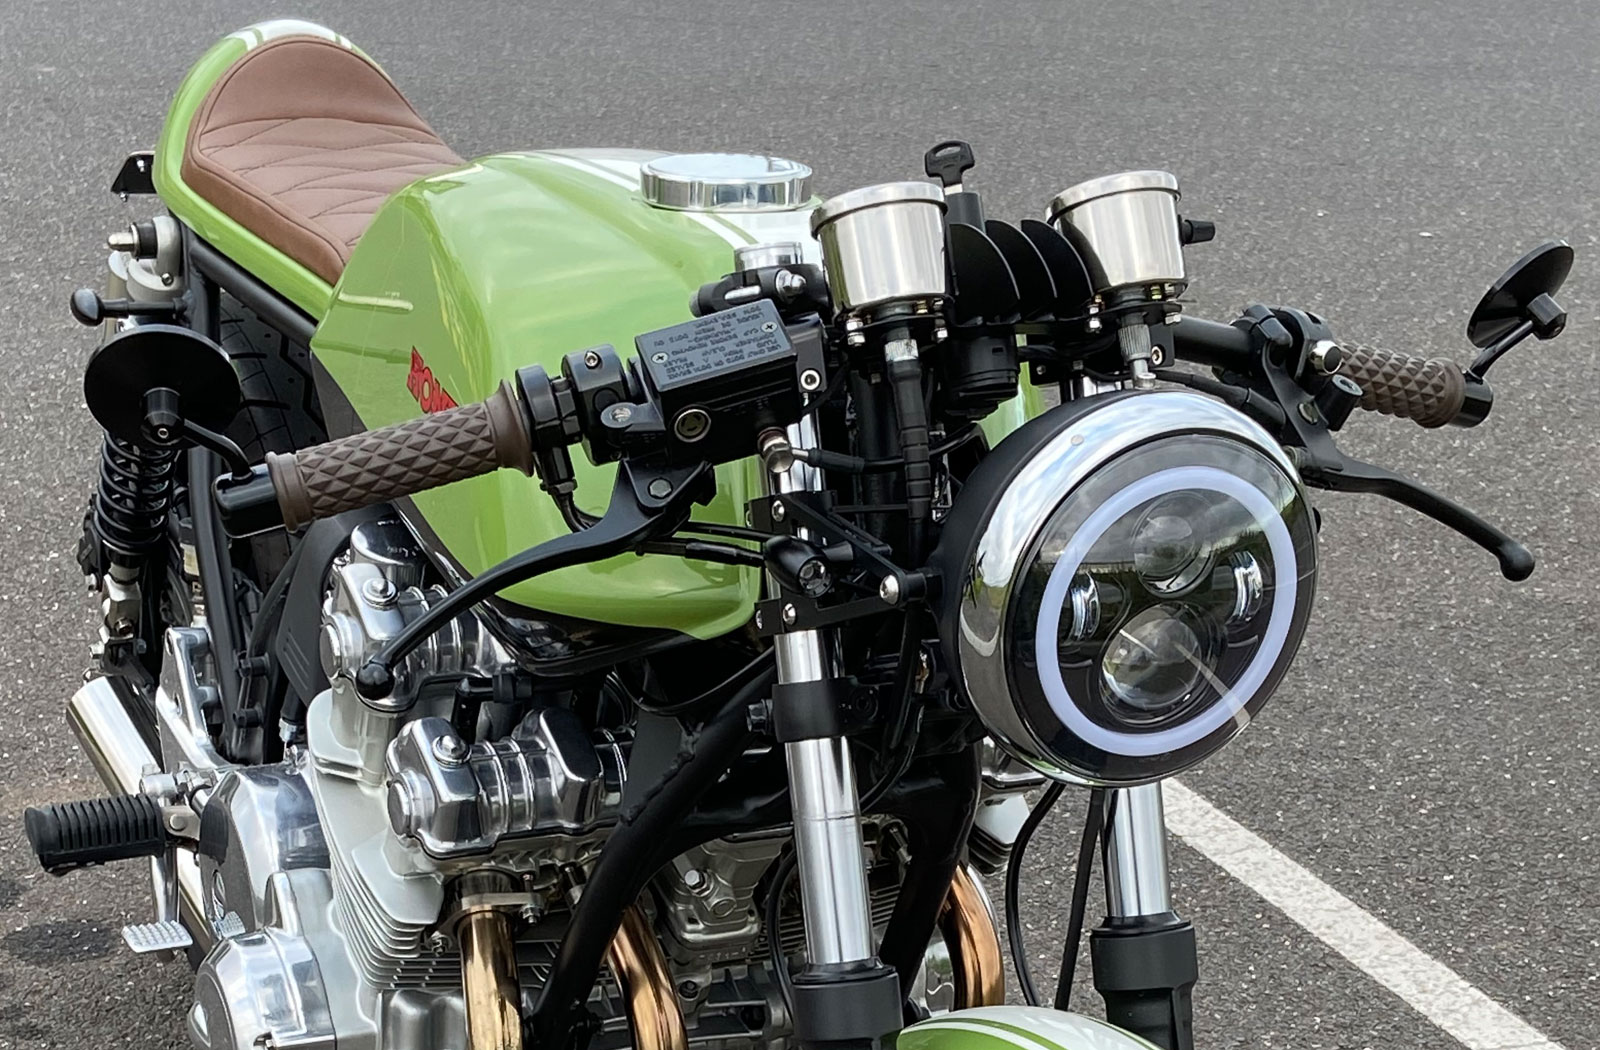
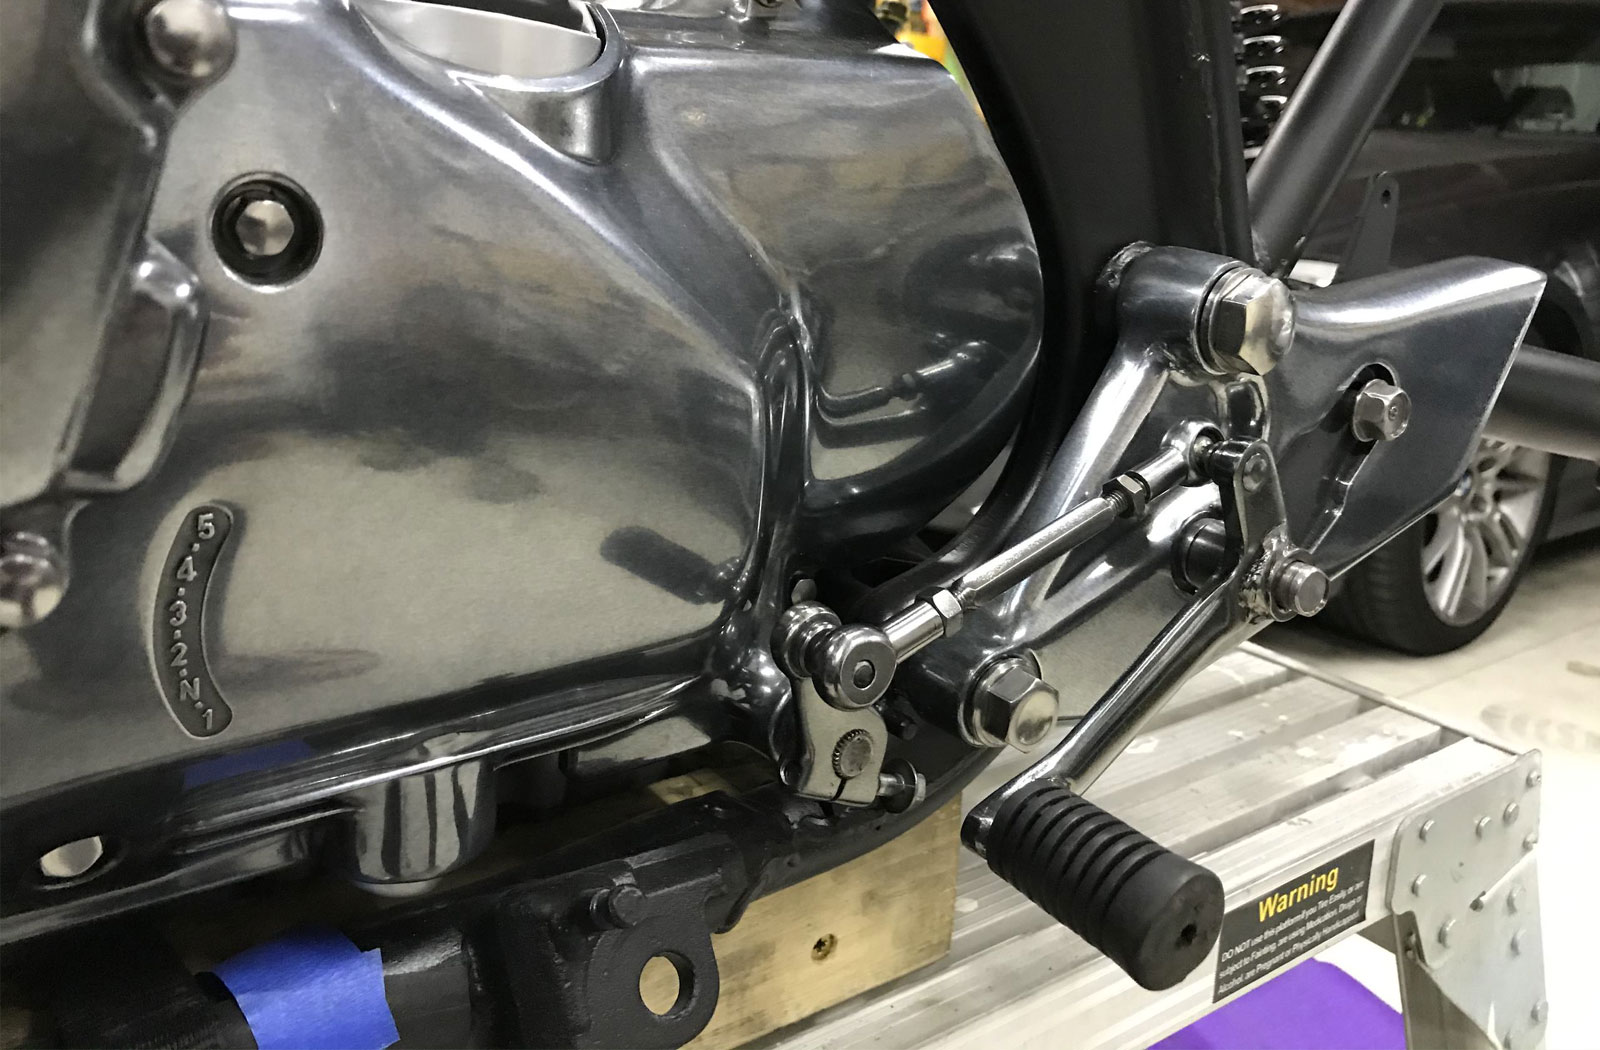
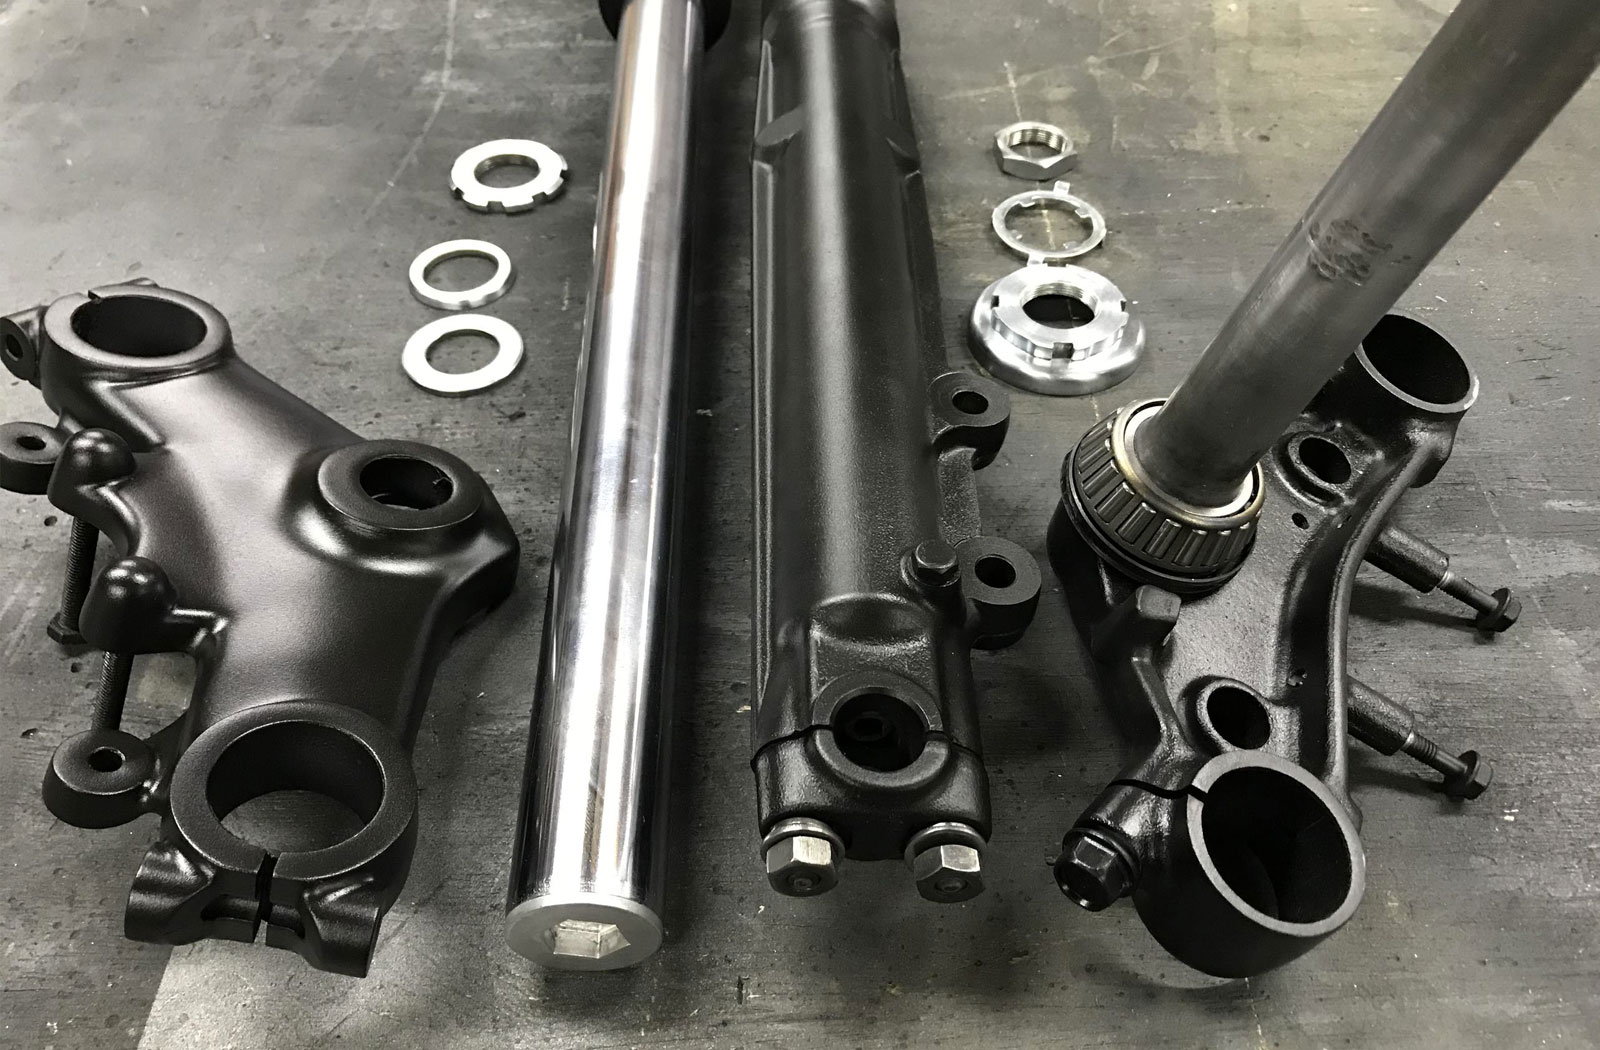
I thought about getting rear sets, but decided to carefully chop up the originals for something unique and still functional. The front shocks were shortened by 58mm as I couldn’t stand the look of the shock tops protruding like towers through the top triple clamp. The triple clamp itself was reinforced on the underside and the stock bar mounts ground off for a clean finish. A custom made bracket was fabricated to complement the analogue gauges and I made a custom number plate bracket too. These were followed by a custom chain guard, a front fender using the original bracket and a choke pull bracket.
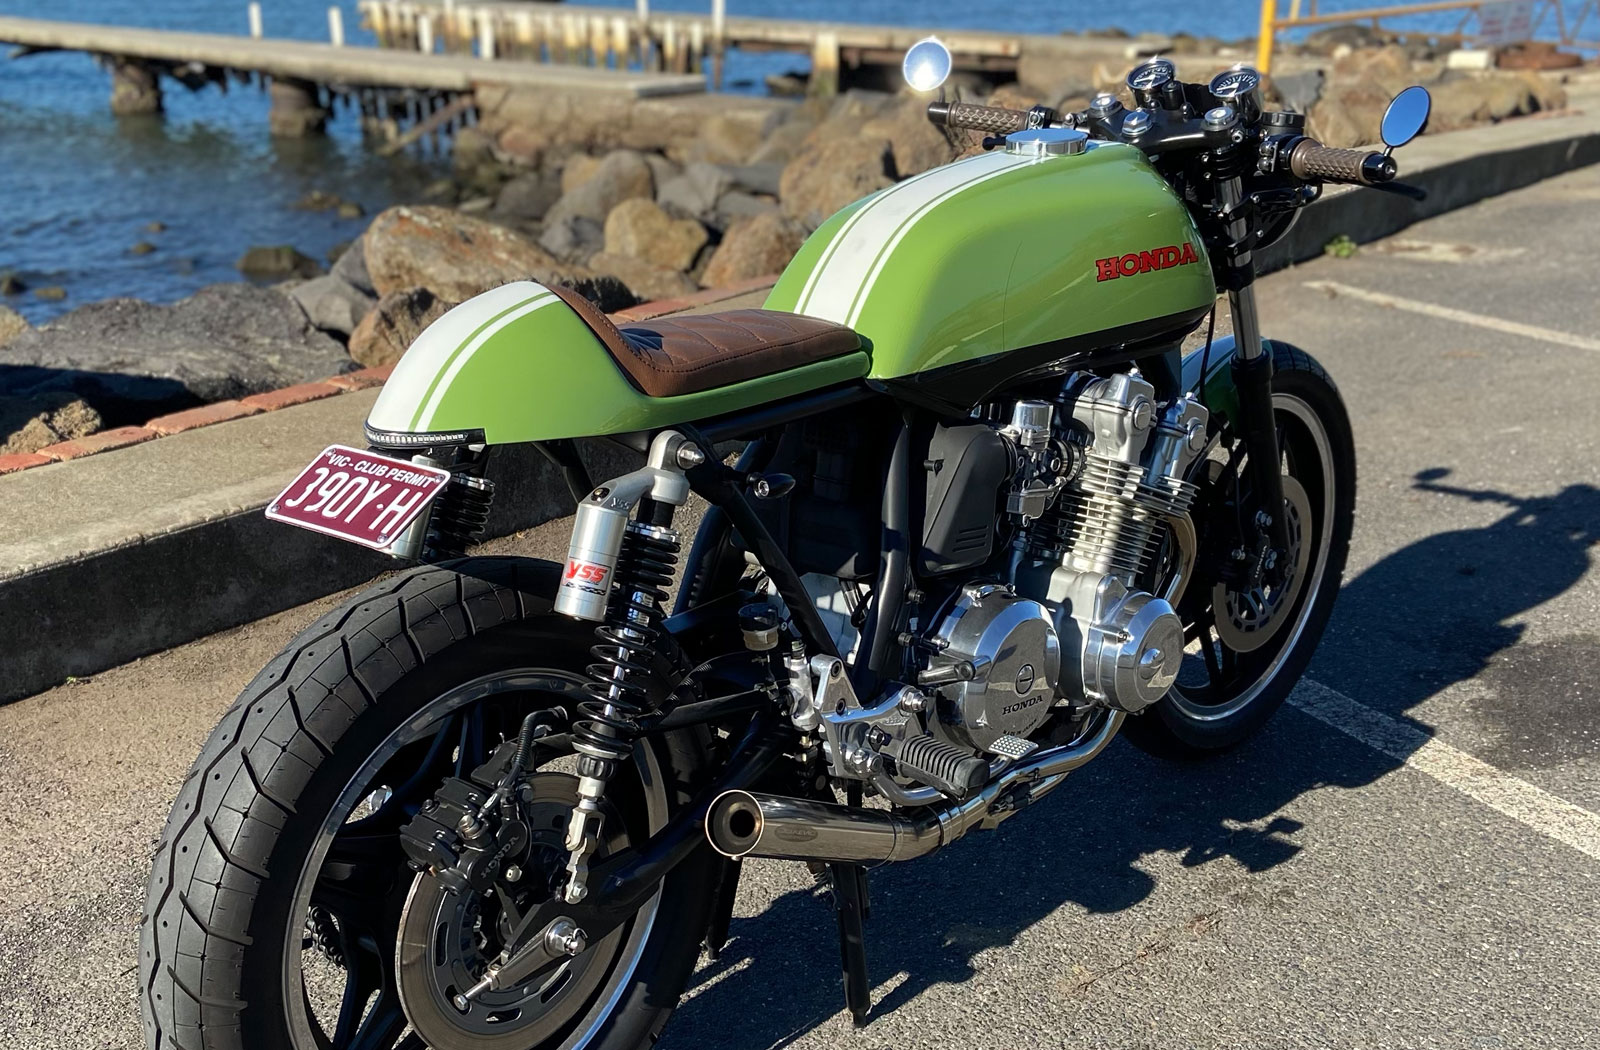
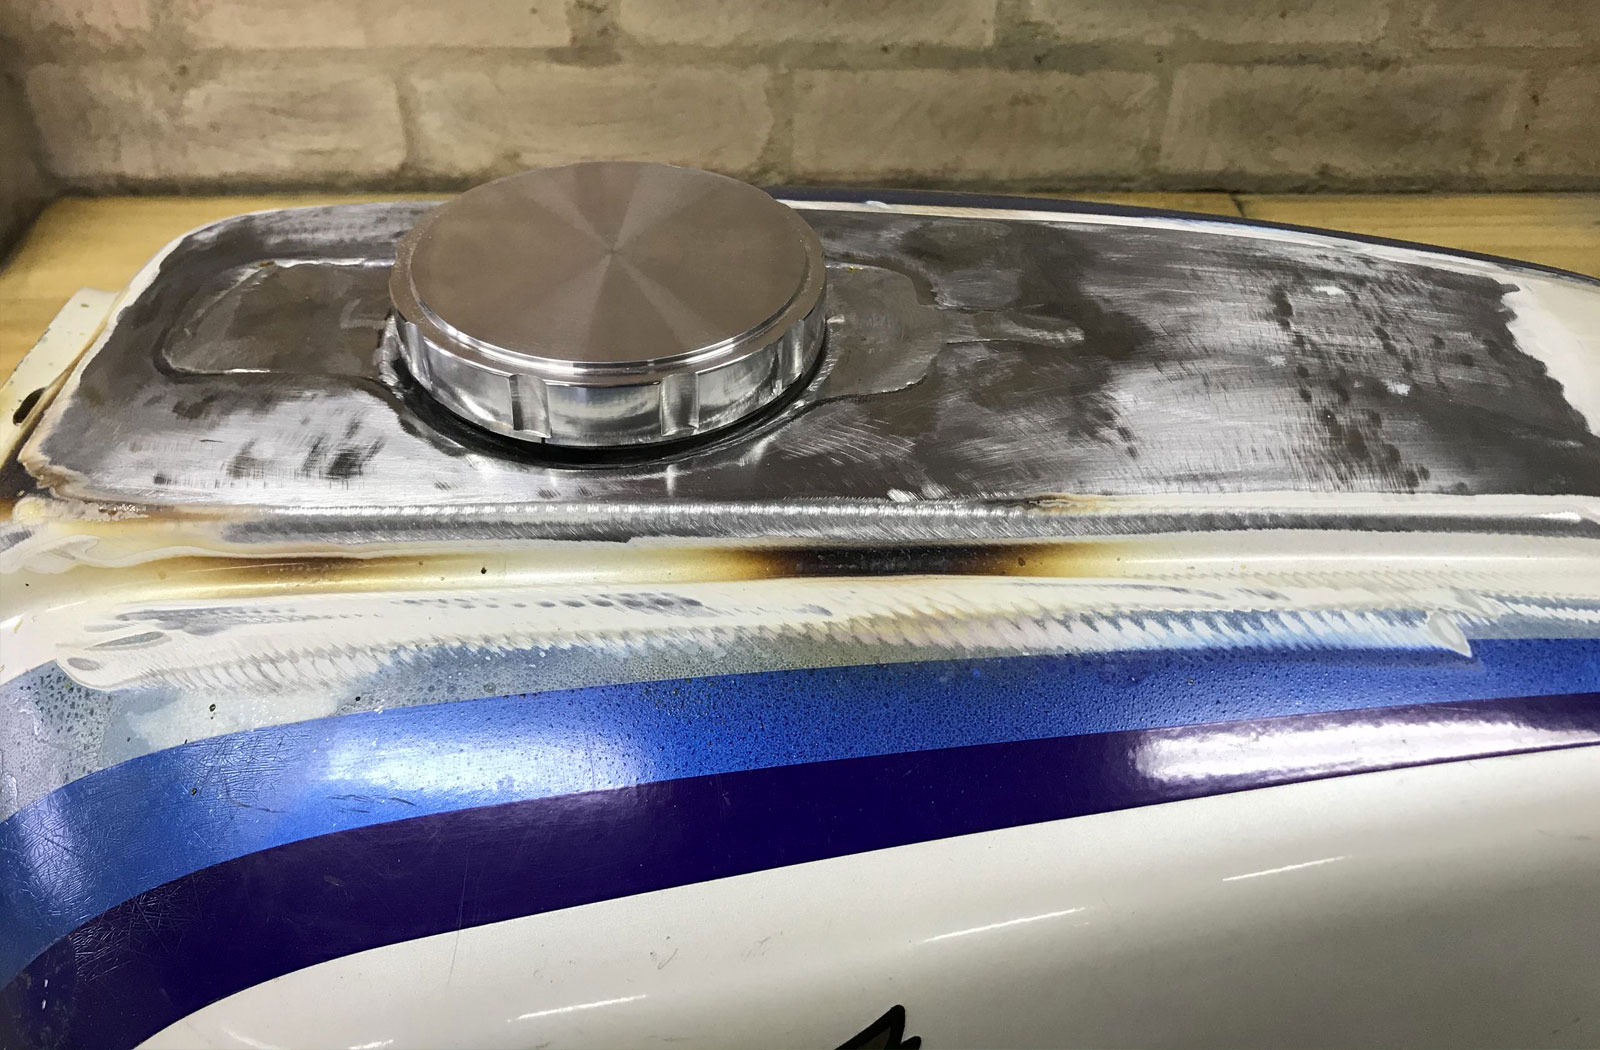
The fuel tank originally had a jerry can style cap and locking mechanism which I never really fancied. The indents were filled with solder and I had a new custom cap made up for a clean classic look. I also relocated the battery, rectifier/regulator, spark units and solenoids to the seat pan.
Rather than trying to work out the original wiring loom, it was tossed in the bin and a full rewire was done in conjunction with a Motogadget M-Unit Blue install. Apart from the cool features that come with an M-Unit, the main advantage was being able to use small and simplistic switches which don’t need to handle the load currents. This allows you to use thin-gauge cables on all the input circuits and also eliminates the need for a fuse box. I also installed a solenoid-operated fuel shut off valve which automatically cuts the fuel when the ignition is off.
I decided to keep the centre stand because it’s old school and I like to see both sides of the bike standing upright rather than lent over to one side. Both the centre and side stands had to be lengthened due to the new stance.

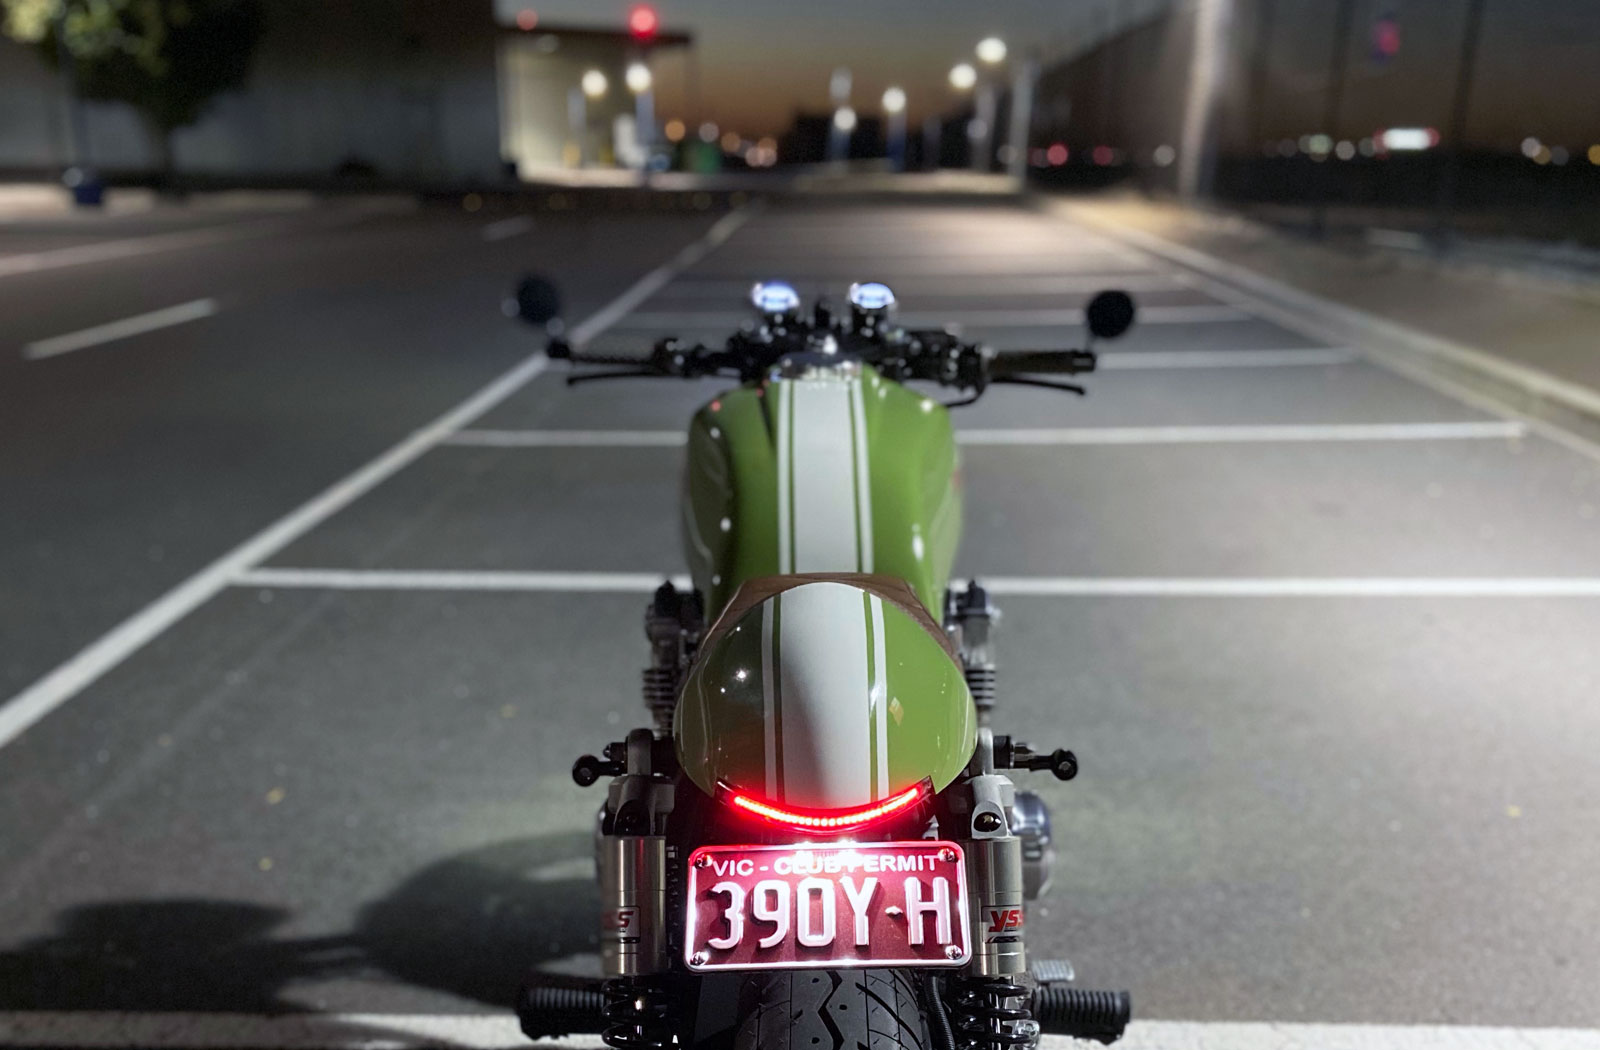
Prepping the tank, seat unit and front fender were key to obtaining a killer paint finish. The colour scheme was inspired by a custom Porsche 911 Singer in Absinthe green.
I lost count of how many times these were primed, guide coated and block sanded. Once the base coat was on, accurately masking up the lines was a job in itself, especially on the curved areas. Then the fear of pulling the tape off when the paint was dry enough to handle but not quite cured, luckily it went very well.
My Honda CB750F cafe racer is heavy when compared to something modern of similar capacity even after removing lots of the unwanted equipment. But she is old school and that alone is cool. The suspension is firm thanks to the YSS rear shocks and the shortened, stiffened front forks. Performance from the freshly rebuilt stock engine is good for something from the 80s and it produces an amazing sound from the tuned 4 carb inline four engine.
